Table of Contents
- What Is Cardistry?
- Cardistry vs. Flourishes: What Is the Difference?
- Why Learn Cardistry
- 5 Beginner Cardistry Moves to Learn First
- "My Hands Are Too Small" (and Why That Is Not True)
- How to Protect Your Cards While Practicing
- Choosing the Right Deck for Cardistry
- Start Practicing
What Is Cardistry?
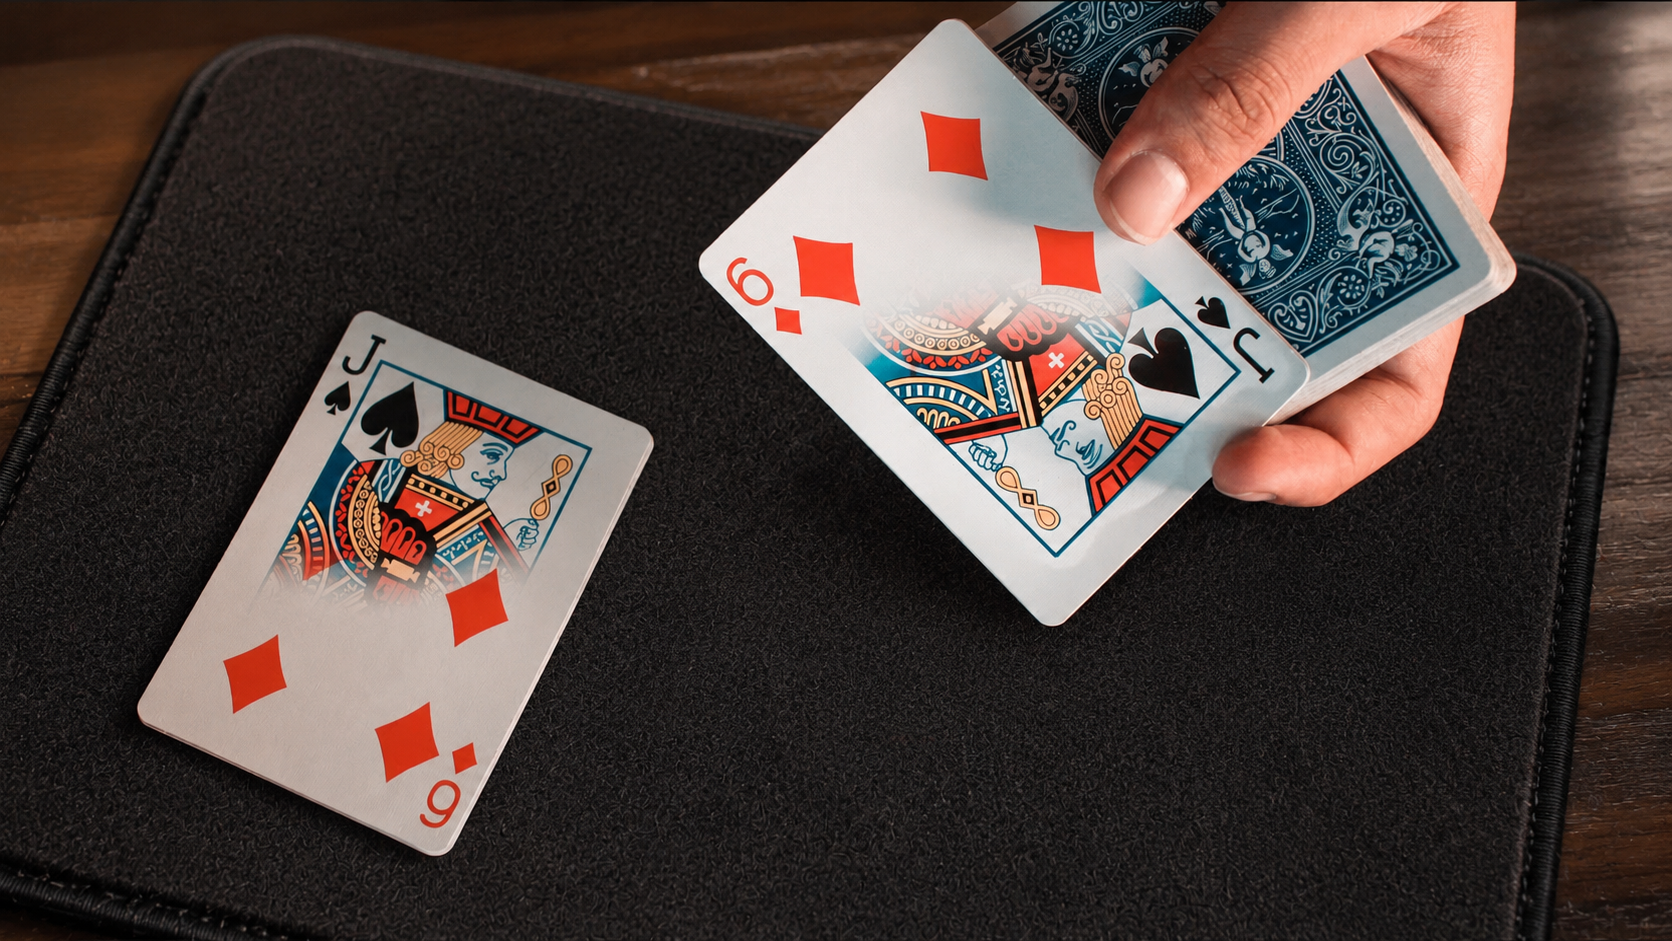
Cardistry is the performance art of manipulating playing cards in visually creative ways. Think cuts, fans, spins, aerials, and fluid multi-packet sequences, all designed to look as smooth and aesthetic as possible.
It is separate from card magic. There are no tricks, no illusions, and no audience misdirection involved. The entire point is the visual display of skill, dexterity, and creative movement.
The roots of cardistry trace back to card flourishing within the magic community. Artists like Dan and Dave Buck, De'vo, and Bone Ho helped push flourishing into its own discipline in the early 2000s, and by the 2010s cardistry had built its own identity, community, and culture. Today it has its own conventions (like Cardistry Con), dedicated YouTube channels, and a global community of practitioners sharing moves online.
Cardistry vs. Flourishes
If you have spent any time around magic, you have probably heard the term "card flourish." Flourishes are showy card moves, and they have been around as long as card magic itself. Ribbon spreads, fans, and springs are all classic flourishes.
Cardistry grew out of that tradition, but now it stands alone. A flourish in a magic routine is a decorative accent. Cardistry is the entire performance. The moves tend to be more complex, more creative, and more focused on visual design than anything a magician would typically work into a trick.
That said, there is plenty of crossover. Many cardists started with magic, and many magicians borrow cardistry techniques. The Charlier Cut, the spring, and the thumb fan show up in both worlds. If you already know a few flourishes, you have a head start.
Why Learn Cardistry?
Beyond the impressive physical skill, cardistry is genuinely creative. Once you learn the fundamentals, you start combining moves, developing your own sequences, and building a personal style. There is no ceiling to how far you can take it.
It is also one of the most accessible hobbies you can pick up. You need a deck of cards and some free time. No stage, no audience, no special equipment. You can practice on the couch, at your desk, or waiting for a bus.
There’s also a thriving community of welcoming cardists online across various social media platforms that you can look to for inspiration and camaraderie. There is no shortage of people willing to share tips, critique your form, and point you to the next move worth learning.
5 Beginner Cardistry Moves to Learn First
If you are brand new, these five moves give you a solid foundation. Each one builds a different core skill, and together they cover some of the basics.
1. Charlier Cut
The Charlier Cut is the most fundamental one-handed cut in cardistry. You hold the deck in one hand, use your thumb to split it into two packets, and rotate the bottom half over the top using your index finger.
It is the building block for dozens of more advanced one-handed cuts like the Revolution Cut and the Scissor Cut. Learning it clean and smooth is worth the time because almost every complex cut sequence starts from this basic mechanic.
2. Thumb Fan
The Thumb Fan is your first card display move. Hold the deck in one hand and use your thumb to spread the cards in a wide, even arc.
A clean thumb fan looks polished and teaches you how cards respond to pressure and grip. It also helps you develop the consistent finger pressure you need for more advanced fans like the Pressure Fan and Smear Fan later on.
Tip: fan quality depends heavily on your deck. A fresh deck with a smooth finish fans much more evenly than a worn one.
3. Waterfall (Cascade)
The Waterfall is one of the most satisfying moves to learn early. Hold the deck in a straddle grip, bend it into a U shape, and release the cards so they cascade from one hand into the other in a smooth stream.
It looks impressive from day one, even when it is not perfectly smooth yet. More importantly, it teaches you how to control card tension and release speed, which are skills you will use in springs, dribbles, and aerial moves down the road.
4. Card Shooting Technique
Card shooting is a fun skill that crosses over between cardistry and magic. You use pressure between your fingers to propel a single card through the air with speed and accuracy.
It is a crowd-pleaser, and it builds the kind of fine finger control that helps with other moves later. The mechanic is simple, but getting consistent distance and accuracy takes real practice.
5. Kalushes Cut (Multi-Packet Cut)
Once you are comfortable with basic one-handed cuts, the Kalushes Cut introduces multi-packet handling. This two-handed cut splits the deck into several packets and weaves them together in a flowing sequence.
It is a natural next step after the Charlier Cut and gives you your first taste of the complex, multi-packet cuts that define advanced cardistry. Moves like the Sybil Cut and WERM build on the same packet-management skills you develop here.
"My Hands Are Too Small" (and Why That Is Not True)
This is one of the most common concerns from beginners, and it comes up constantly in forums and comment sections. The short answer: your hands are almost certainly not too small.
Cardistry is about positioning, not hand size. Experienced cardists with small hands perform the same moves as everyone else. The difference is how they position their fingers around the deck, not how far their fingers can stretch.
A few things that help:
- Adjust your grip. Small shifts in where your thumb or index finger sits on the deck can make a move feel completely different. Experiment with placing your fingers slightly higher, lower, or closer to the edges.
- Use fewer cards. Take 10 or 15 cards out of the deck while learning a new move. This reduces the packet size and gives your fingers more room to work.
- Stick with poker-size cards. Avoid bridge-size cards. They can create bad habits and make it harder to transition to standard moves later.
- Watch cardists with smaller hands. Seeing someone with a similar hand size nail a move you are struggling with shifts your perspective on what is actually possible.
The real barrier is practice and positioning, not anatomy.
Choosing the Right Deck for Cardistry
You do not need an expensive deck to start cardistry. A standard Bicycle deck handles well, costs a few dollars, and is easy to replace when it wears out. For beginners who will be dropping cards regularly, that last point matters.
Here is what to look for as you progress:
Card Stock and Finish
A high-quality paper deck with a smooth finish is the foundation. You want cards that spread evenly, spring back after bending, and glide across each other without sticking. Crushed stock tends to feel thinner and softer out of the box, which many cardists prefer.
Avoid plastic cards. They handle differently from paper cards, and the handling you develop on plastic do not always transfer cleanly to standard paper decks.
Decks Designed with Cardistry in Mind
Many cardists prefer decks that were designed specifically with cardistry in mind. These decks often feature:
- High-contrast or bold patterns that make cuts and packet movements more visible during motion
- Alternatively, some cardists prefer extremely minimal designs so the focus stays on the cards themselves
- Custom color palettes that pop on camera and in person
Decks from brands like Fontaine, Virtuoso, and Anyone Worldwide are popular in the cardistry community because their designs accentuate the visual impact of the cards in motion. Some designs help you see packet rotations and spread more visual, which makes the performance more striking for both you and anyone watching.
The best deck is ultimately the one you enjoy using. Try a few different options and see what feels right in your hands.
See our full our collection of Cardistry Decks here.
How to Protect Your Cards While Practicing
When you are learning cardistry, cards hit the floor constantly. That is normal. But a few simple habits will keep your decks performing well for longer.
- Practice over a bed or soft surface. Cards that land on hardwood or tile pick up dirt and dent at the corners. A bed catches them cleanly and saves you from constantly bending down to pick them up.
For a deeper look at how to maintain your decks, check out our Playing Cards Maintenance 101 guide.
Start Practicing!
Cardistry rewards consistent practice more than anything else. You do not need to commit hours every day. Even 15 to 20 minutes with a deck in your hands builds muscle memory over time.
Start with the Charlier Cut and the Thumb Fan first, since they build the grip strength and finger independence that everything else relies on. Then move to the Waterfall, Card Shooting Technique, and the Kalushes Cut as your confidence grows.
A few quick practice tips that help:
- Perform moves slowly and smoothly before trying to speed up
- Focus on a small set of moves at a time rather than jumping between too many
- Keep a deck in your hands during downtime to build familiarity
- Take breaks when you feel frustrated and come back later with fresh hands
If you want to explore more moves and tutorials, the 52Kards Tutorial Library covers everything from basic grips to advanced cuts and flourishes.
The only thing between you and beautiful cardistry is a deck of cards and the willingness to drop them a few hundred times.